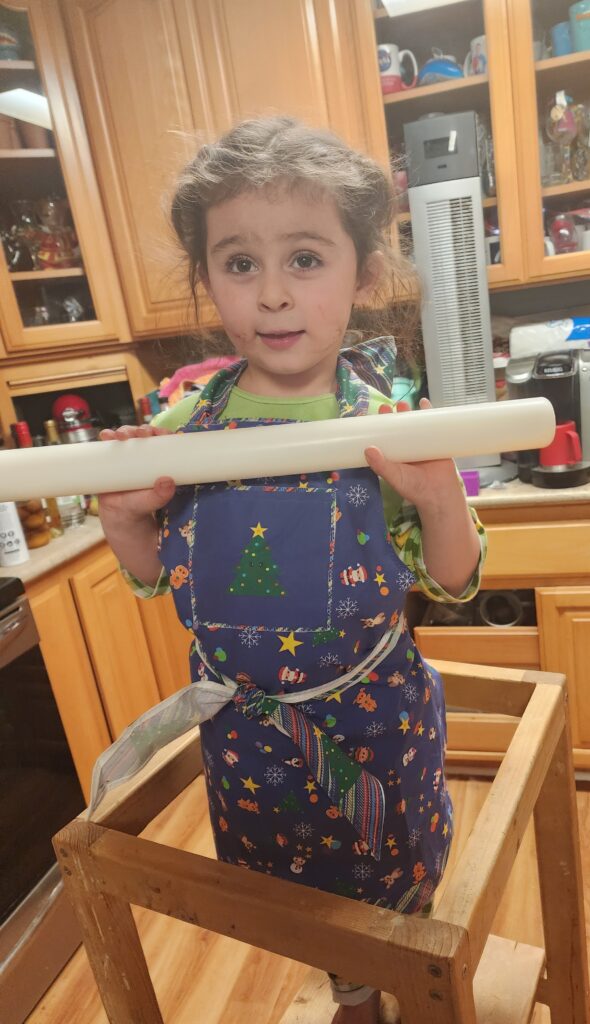
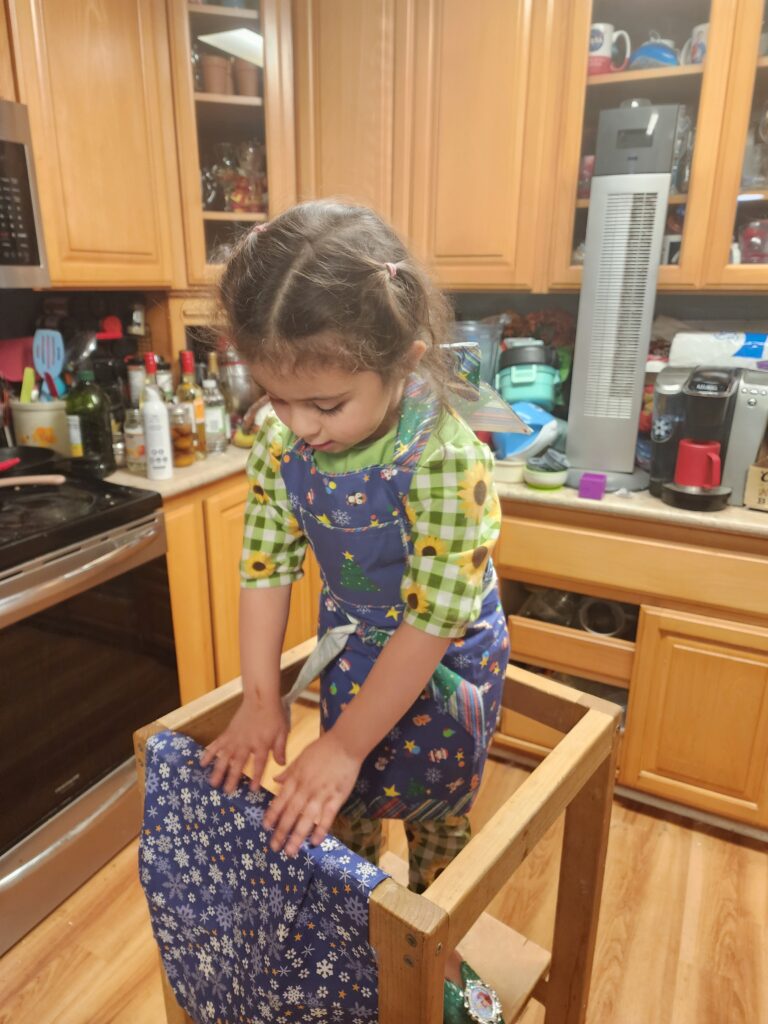
Holiday children’s apron cut sew projects bring joy to the kitchen and empower young helpers. From the very first stitch, this festive apron becomes more than fabric, it becomes a memory. My niece loves directing in the kitchen, and this apron lets her step into that role with confidence. Because the holiday children’s apron cut sew pattern is simple, families can enjoy making it together while celebrating the season.
The apron design highlights cheerful motifs of Santa and his friends. Bright reds, playful greens, and whimsical prints transform ordinary fabric into something magical. Next, the cut-and-sew layout ensures that even beginner makers can follow along. With clear lines and easy instructions, children can participate in the process, learning how fabric transforms into something useful. As the holiday children’s apron cut sew project unfolds, kids discover the joy of making while adults enjoy the bonding experience.
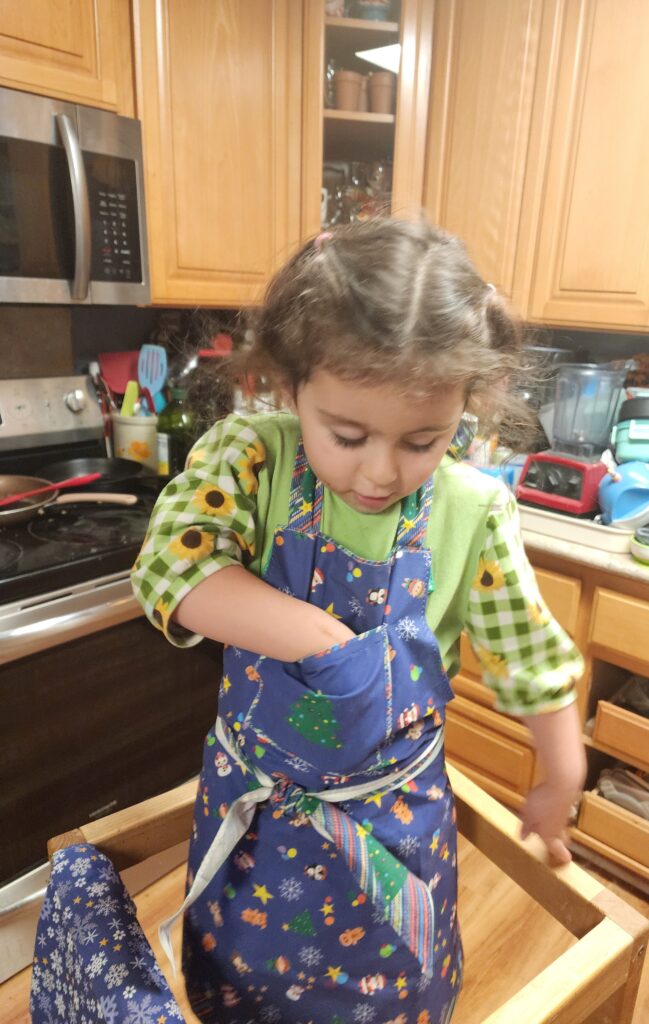
Additionally, this apron doubles as a keepsake. Each stitch becomes a reminder of laughter, flour-dusted counters, and shared recipes. Furthermore, the apron encourages creativity, children can personalize pockets, trims, or straps with their favorite colors. Finally, the finished apron invites them to step proudly into the kitchen, ready to help mix, stir, and direct holiday meals.
Directions
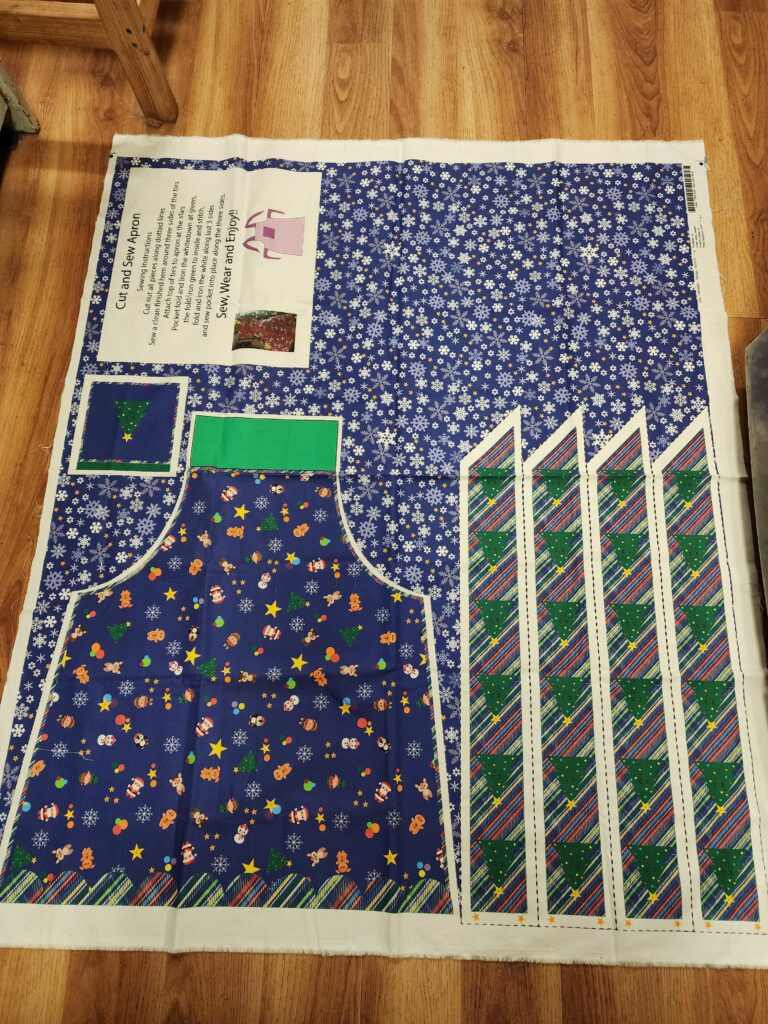
This is a cut and sew project! You will need 1 yard for the apron, straps and extra material for a tea towel; that is available from my store at Spoonflower.
Step 1 Cut along the dotted lines separating all the pieces
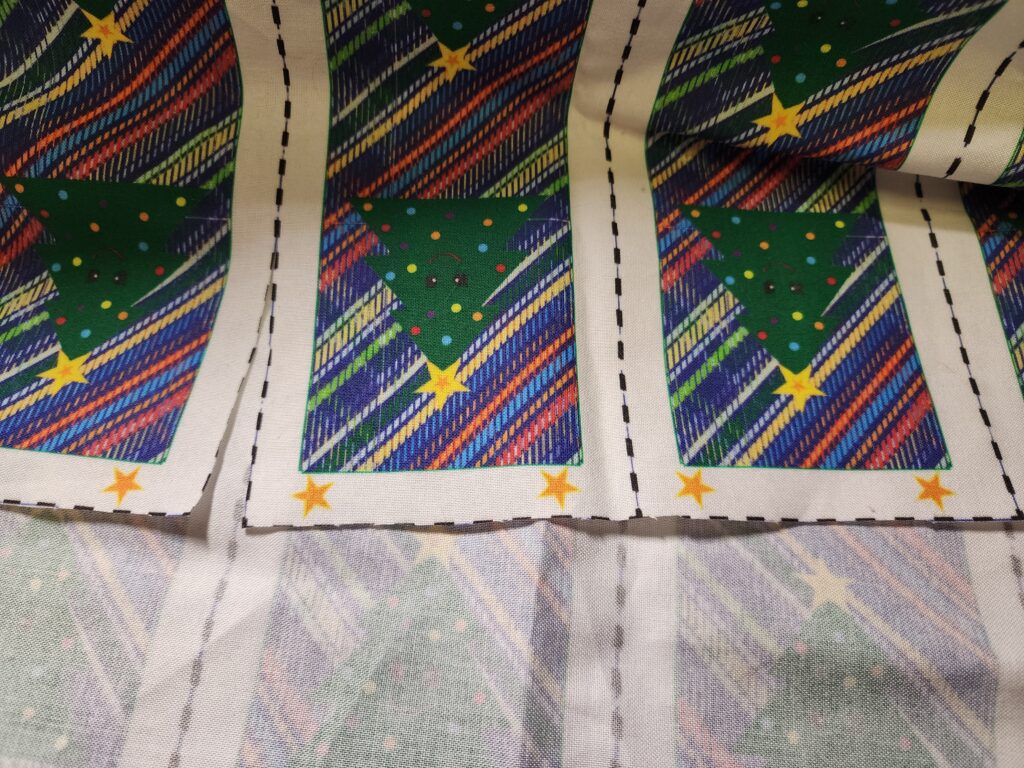
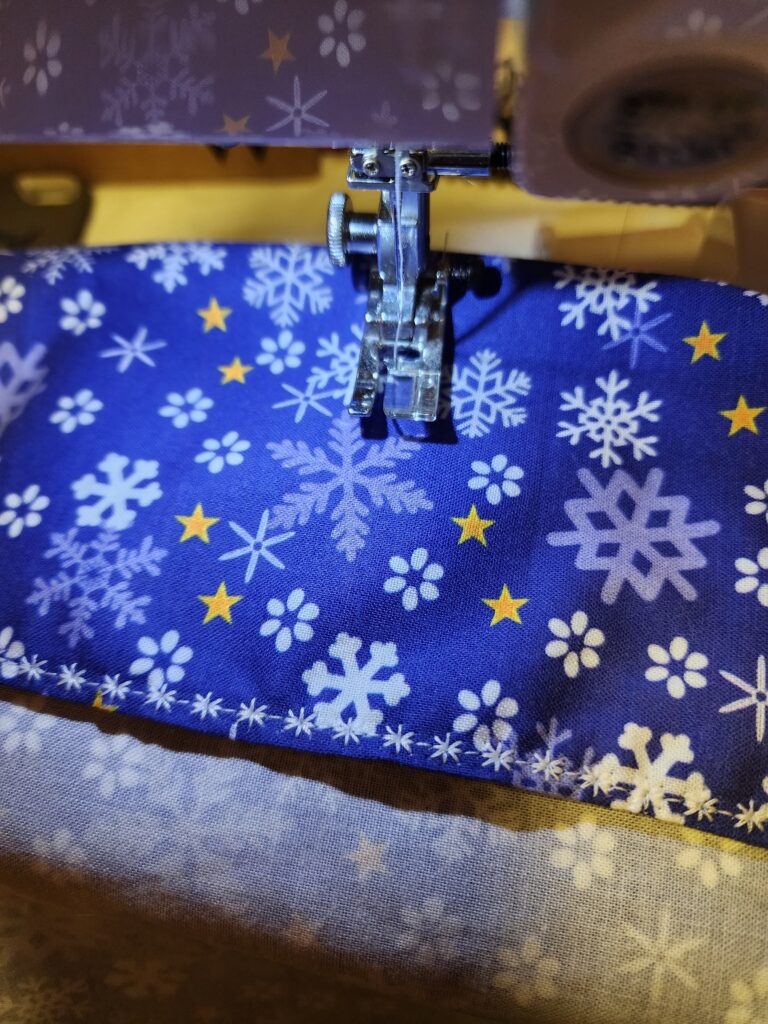
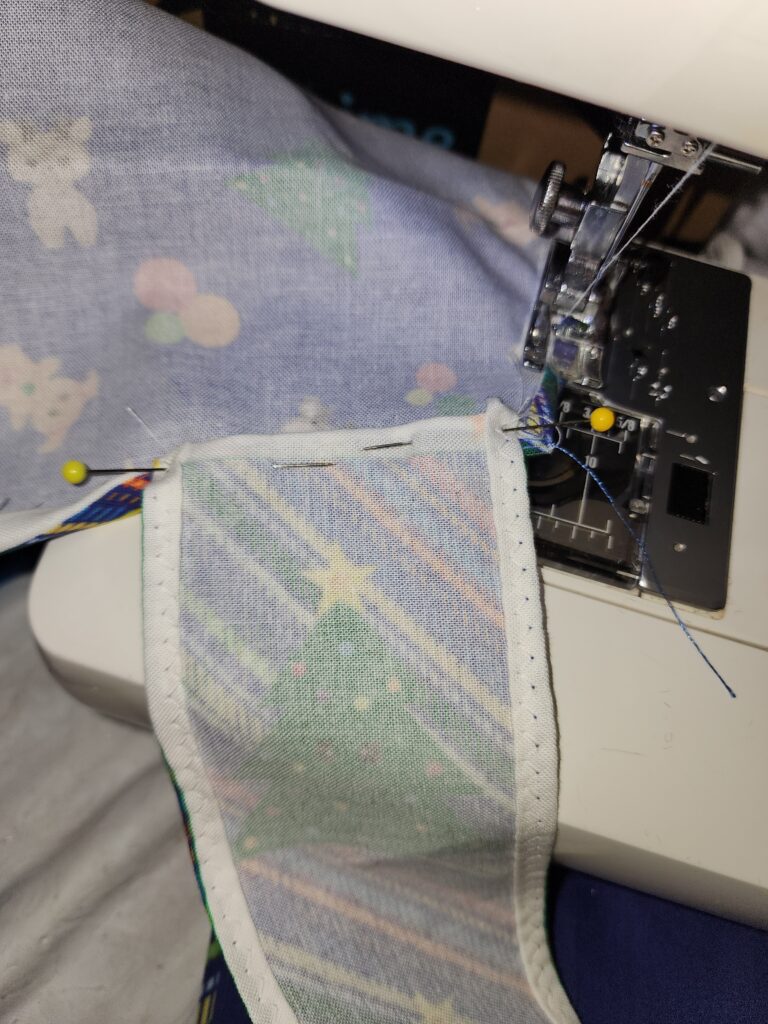
Step 2 Start with the 4 straps rolled hem finish both long sides and angled end. The end with the stars don’t hem.
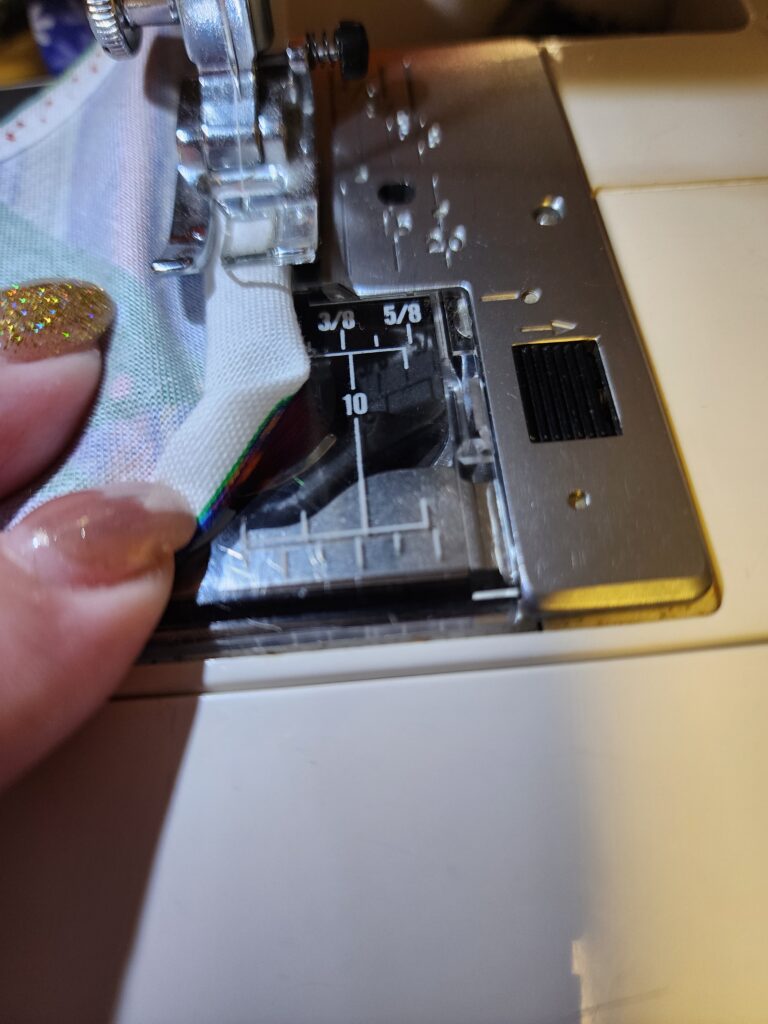
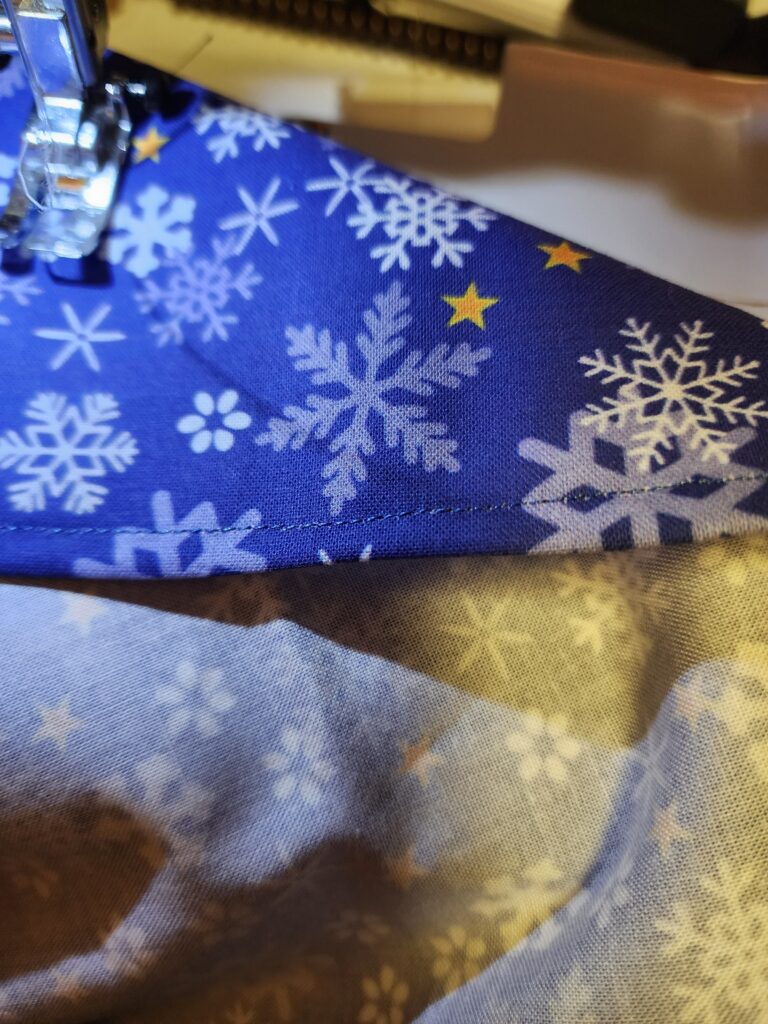
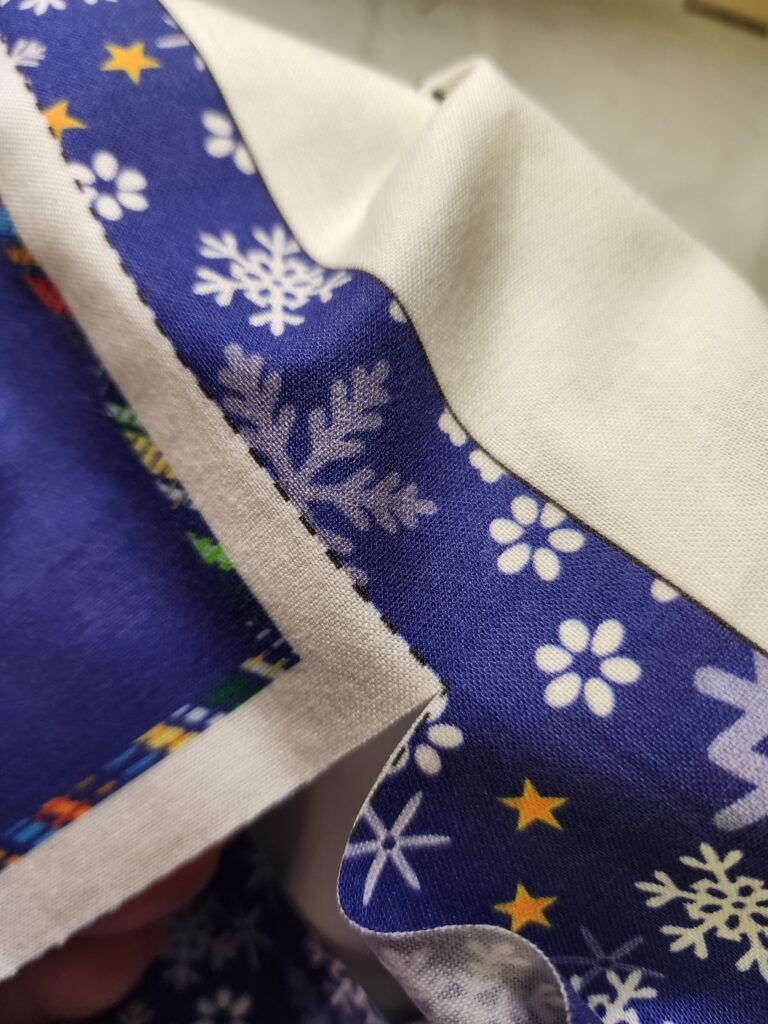
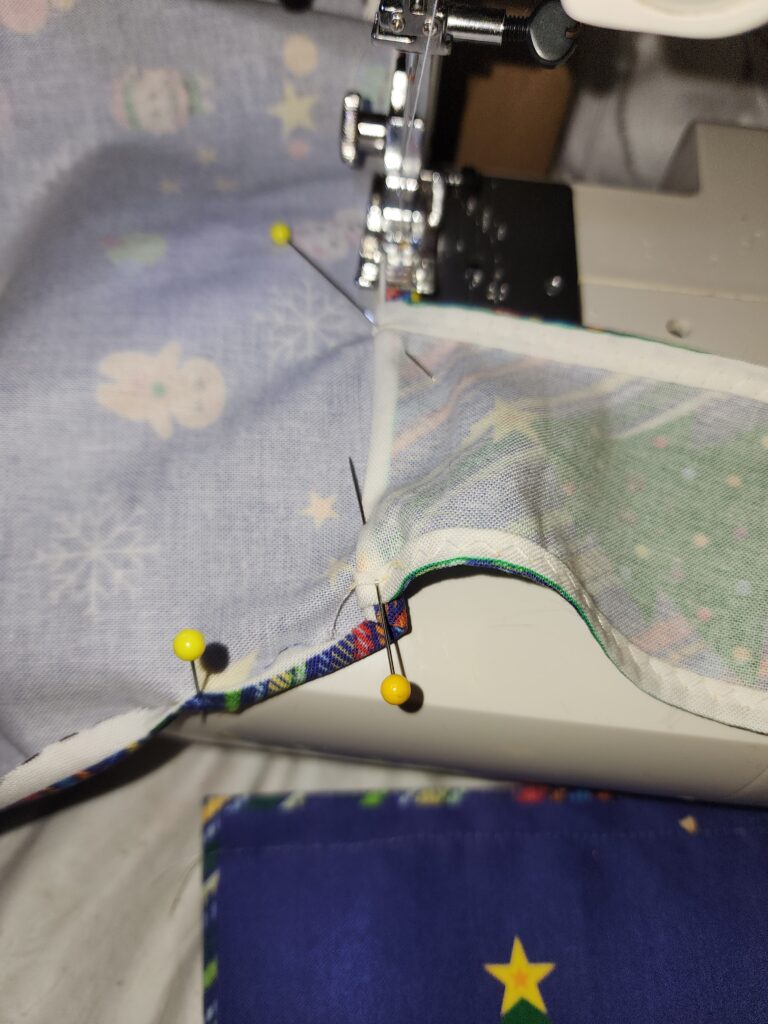
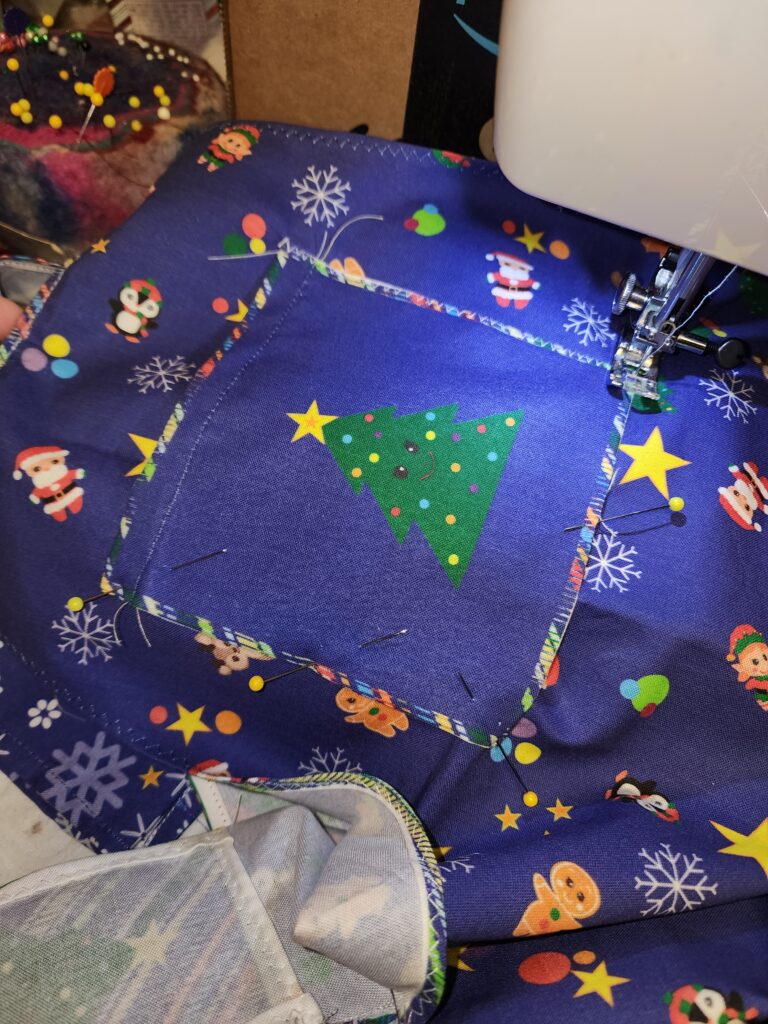
Step 3 Clean finish using your choice of rolled hem, take the curves slow as to roll smoothly. I mitered the corners.
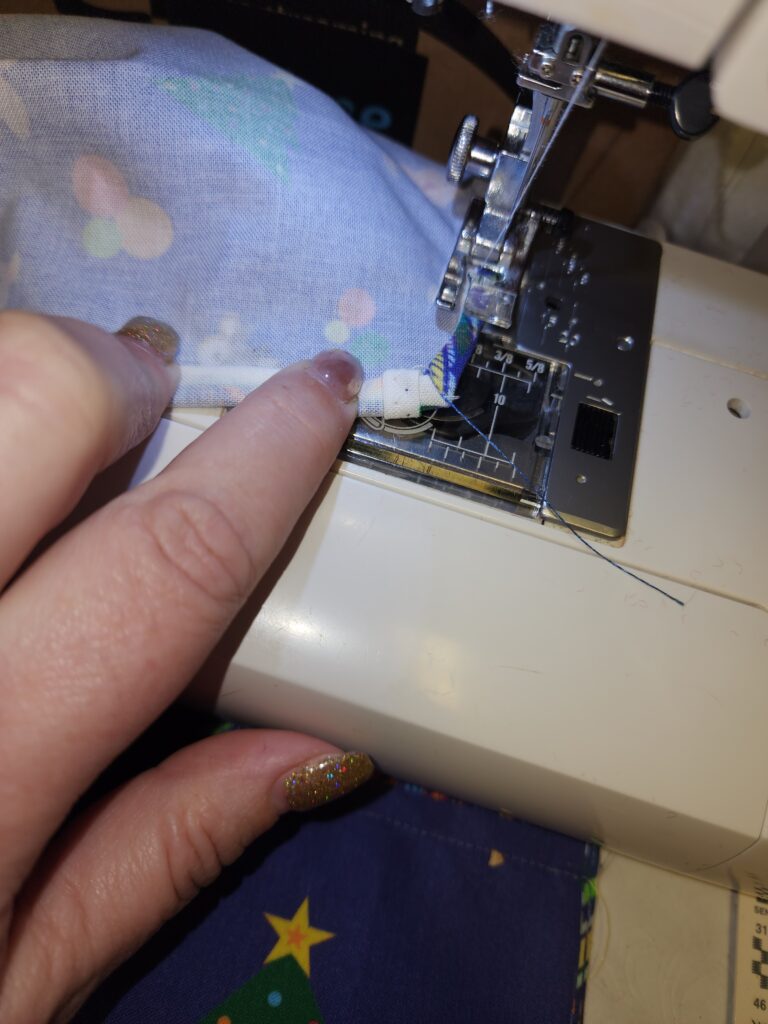
Step 4 For the waist straps match the stars, roll and pin then stitch across to lock open in place.
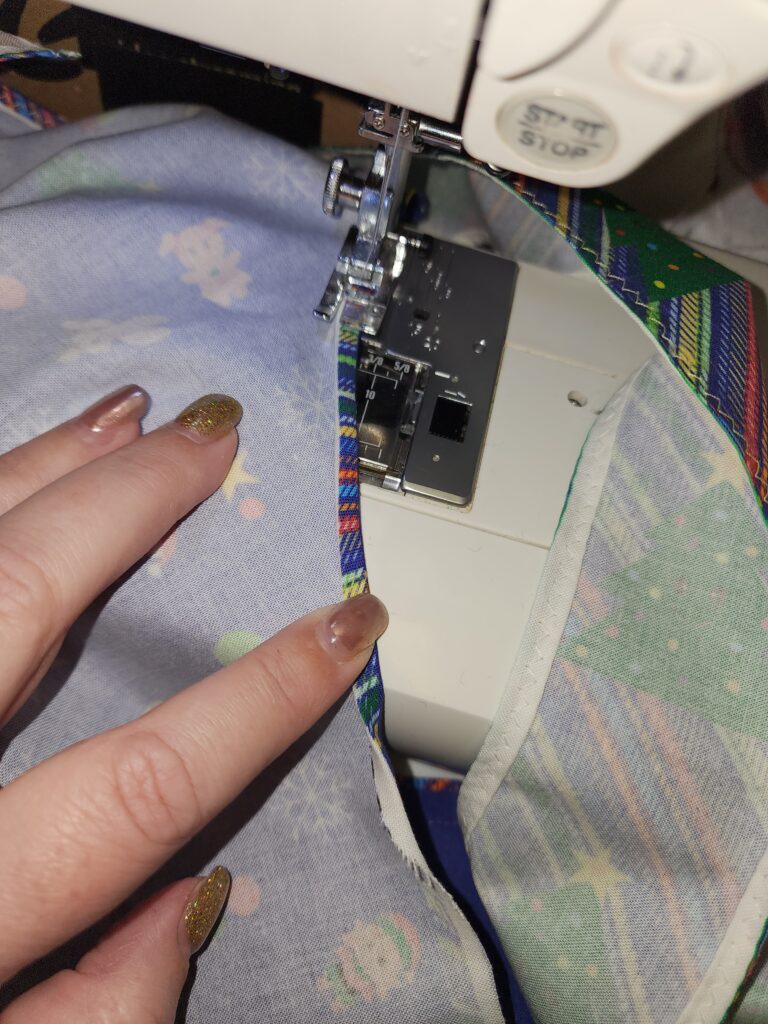
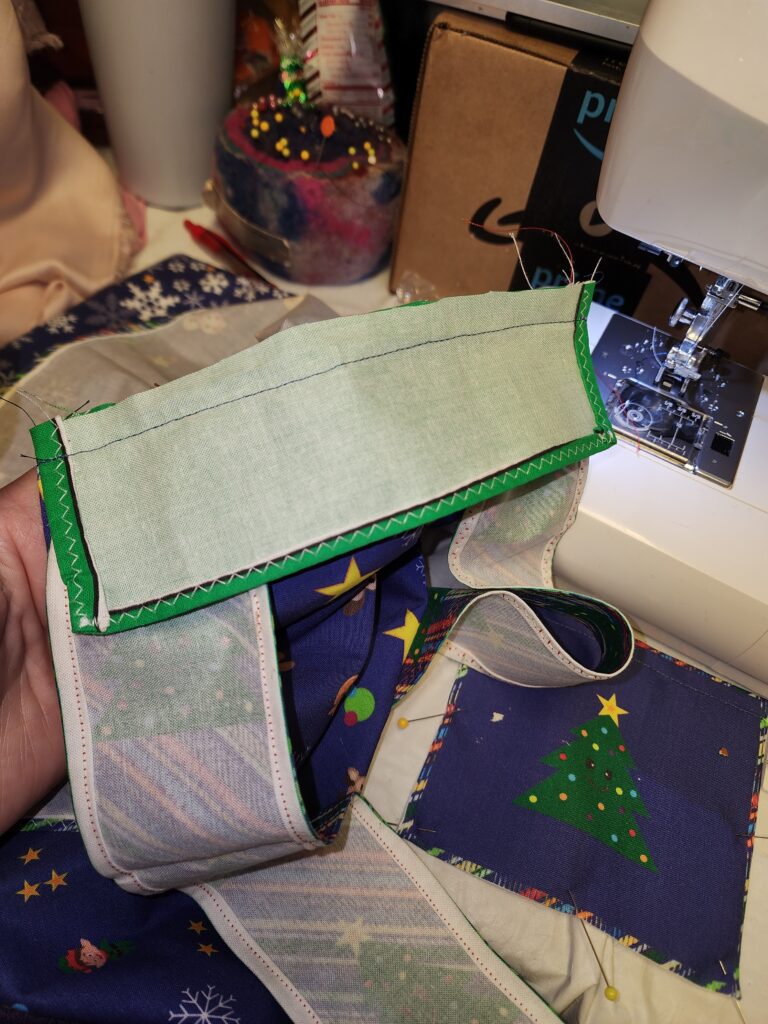
Step 5 For the top of the apron attaching the straps create a fabric sandwich apron strap and green rectangle. Roll hem finish 3 sides of the green rectangle. The sandwich starts inside out but as it folds the right side creates a clean finish.
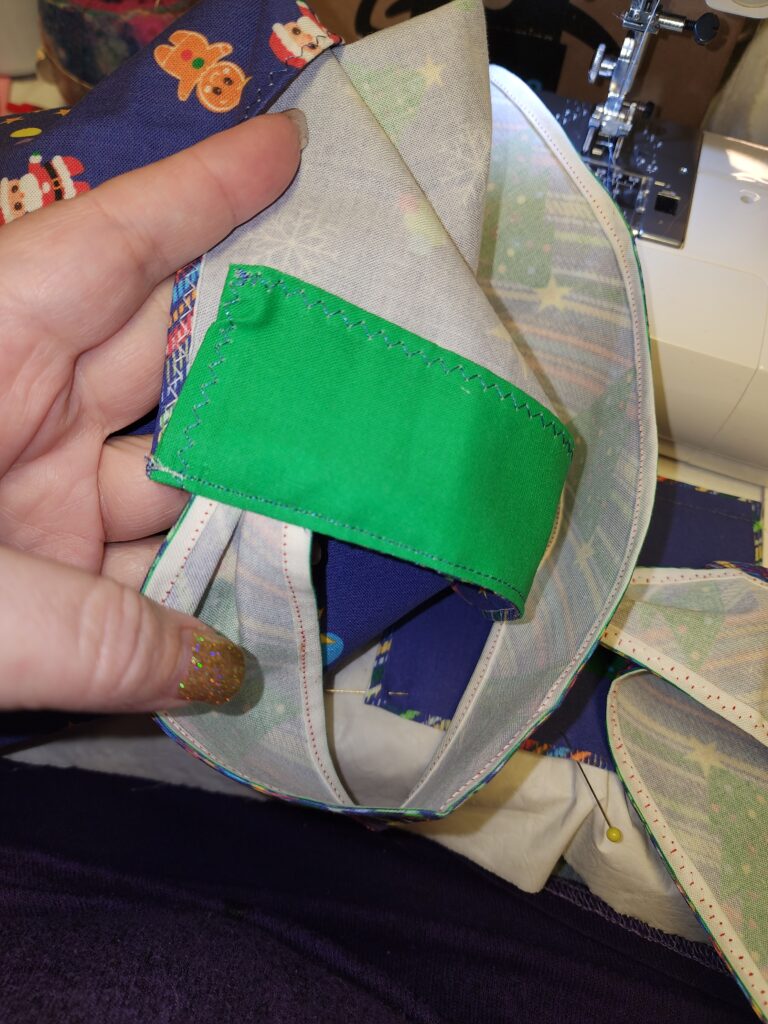
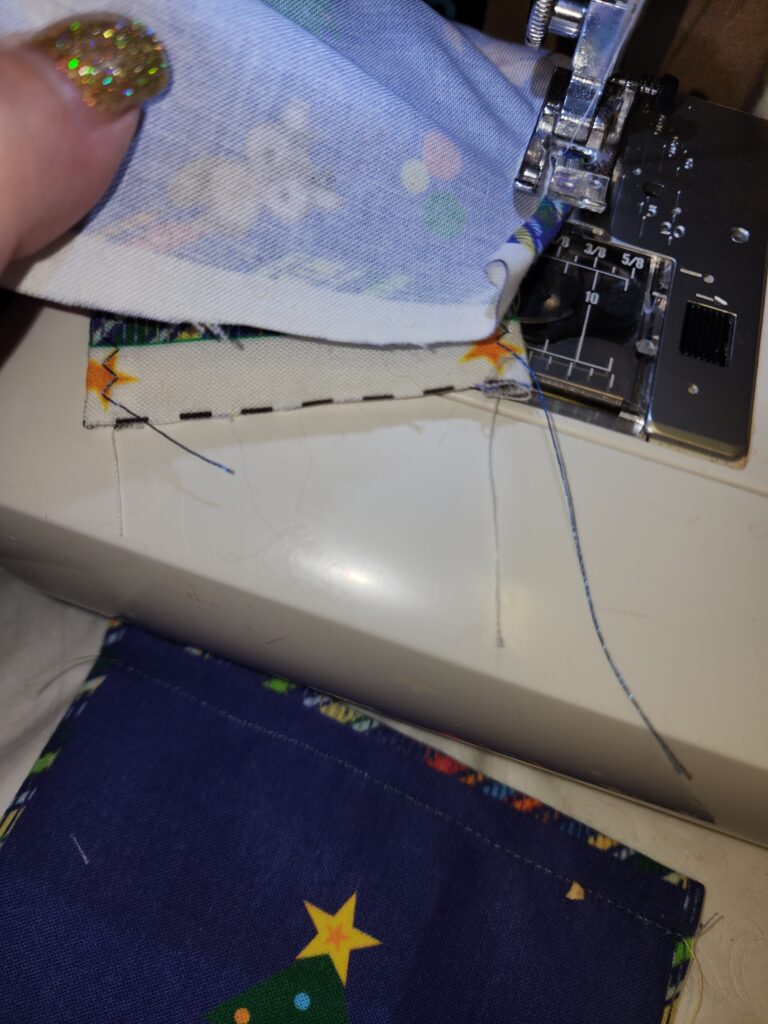
Step 6 The small square becomes the pocket. Roll the top green to back for a clean finish and fold along the plaid and pin into place and stitch three sides.
Step 7 The extra fabric I used to make a tea towel using rolled hem with mitered corners.